“How do I wire solar panels in a camper?”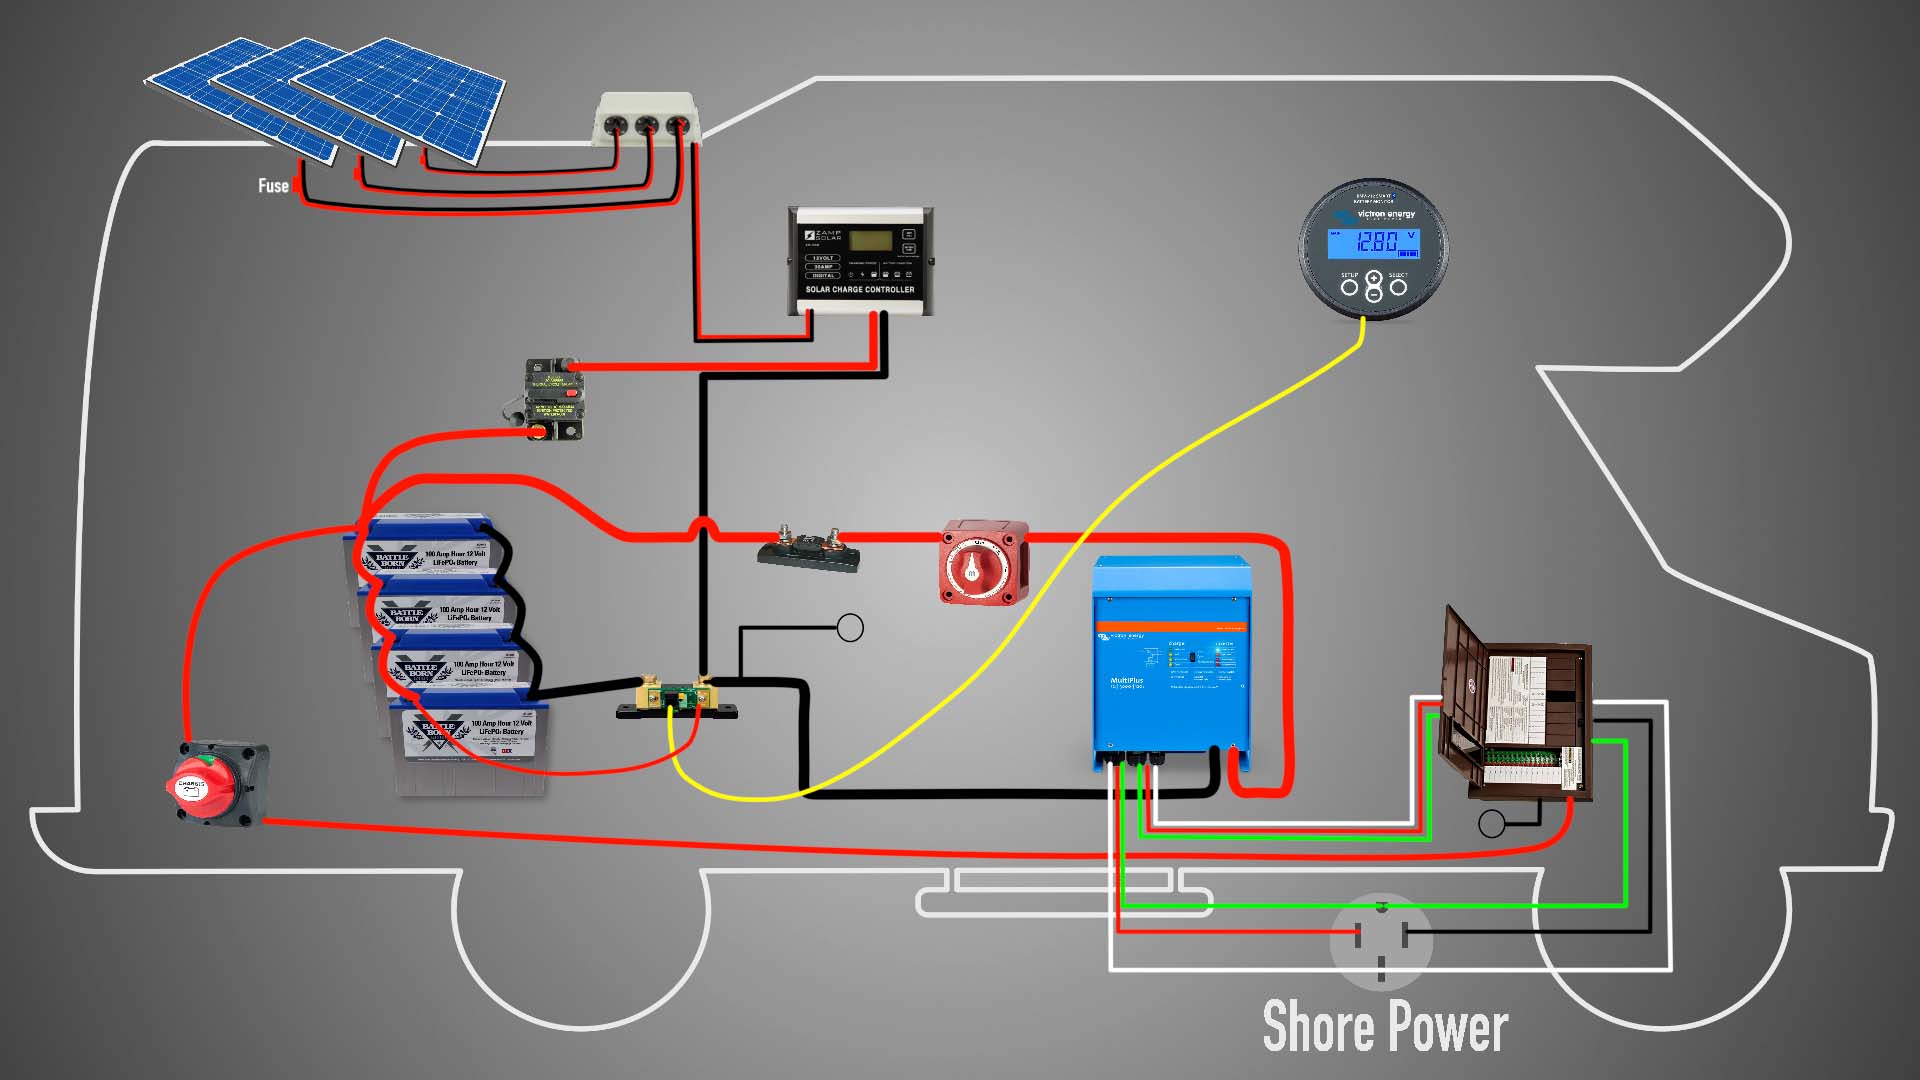
Not only do they provide a clean and sustainable source of energy, but they also offer a cost-effective way to power your camper’s electrical systems. However, wiring solar panels in a camper can be a complex task, requiring careful planning and attention to detail. In this article, we will provide a step-by-step guide on how to wire solar panels in a camper, including the necessary materials, safety precautions, and troubleshooting tips.
Why Install Solar Panels in a Camper?
Before we dive into the wiring process, let’s take a look at why installing solar panels in a camper is a great idea. Solar panels offer several benefits, including:
- Renewable energy source: Solar panels harness the power of the sun, providing a clean and sustainable source of energy.
- Cost-effective: Solar panels can significantly reduce your energy costs, especially if you’re boondocking or dry camping.
- Increased independence: With solar panels, you can power your camper’s electrical systems even when you’re not connected to a mains power source.
- Environmental benefits: Solar panels produce no emissions or noise pollution, making them an environmentally friendly choice.
Materials Needed
To wire solar panels in a camper, you’ll need the following materials:
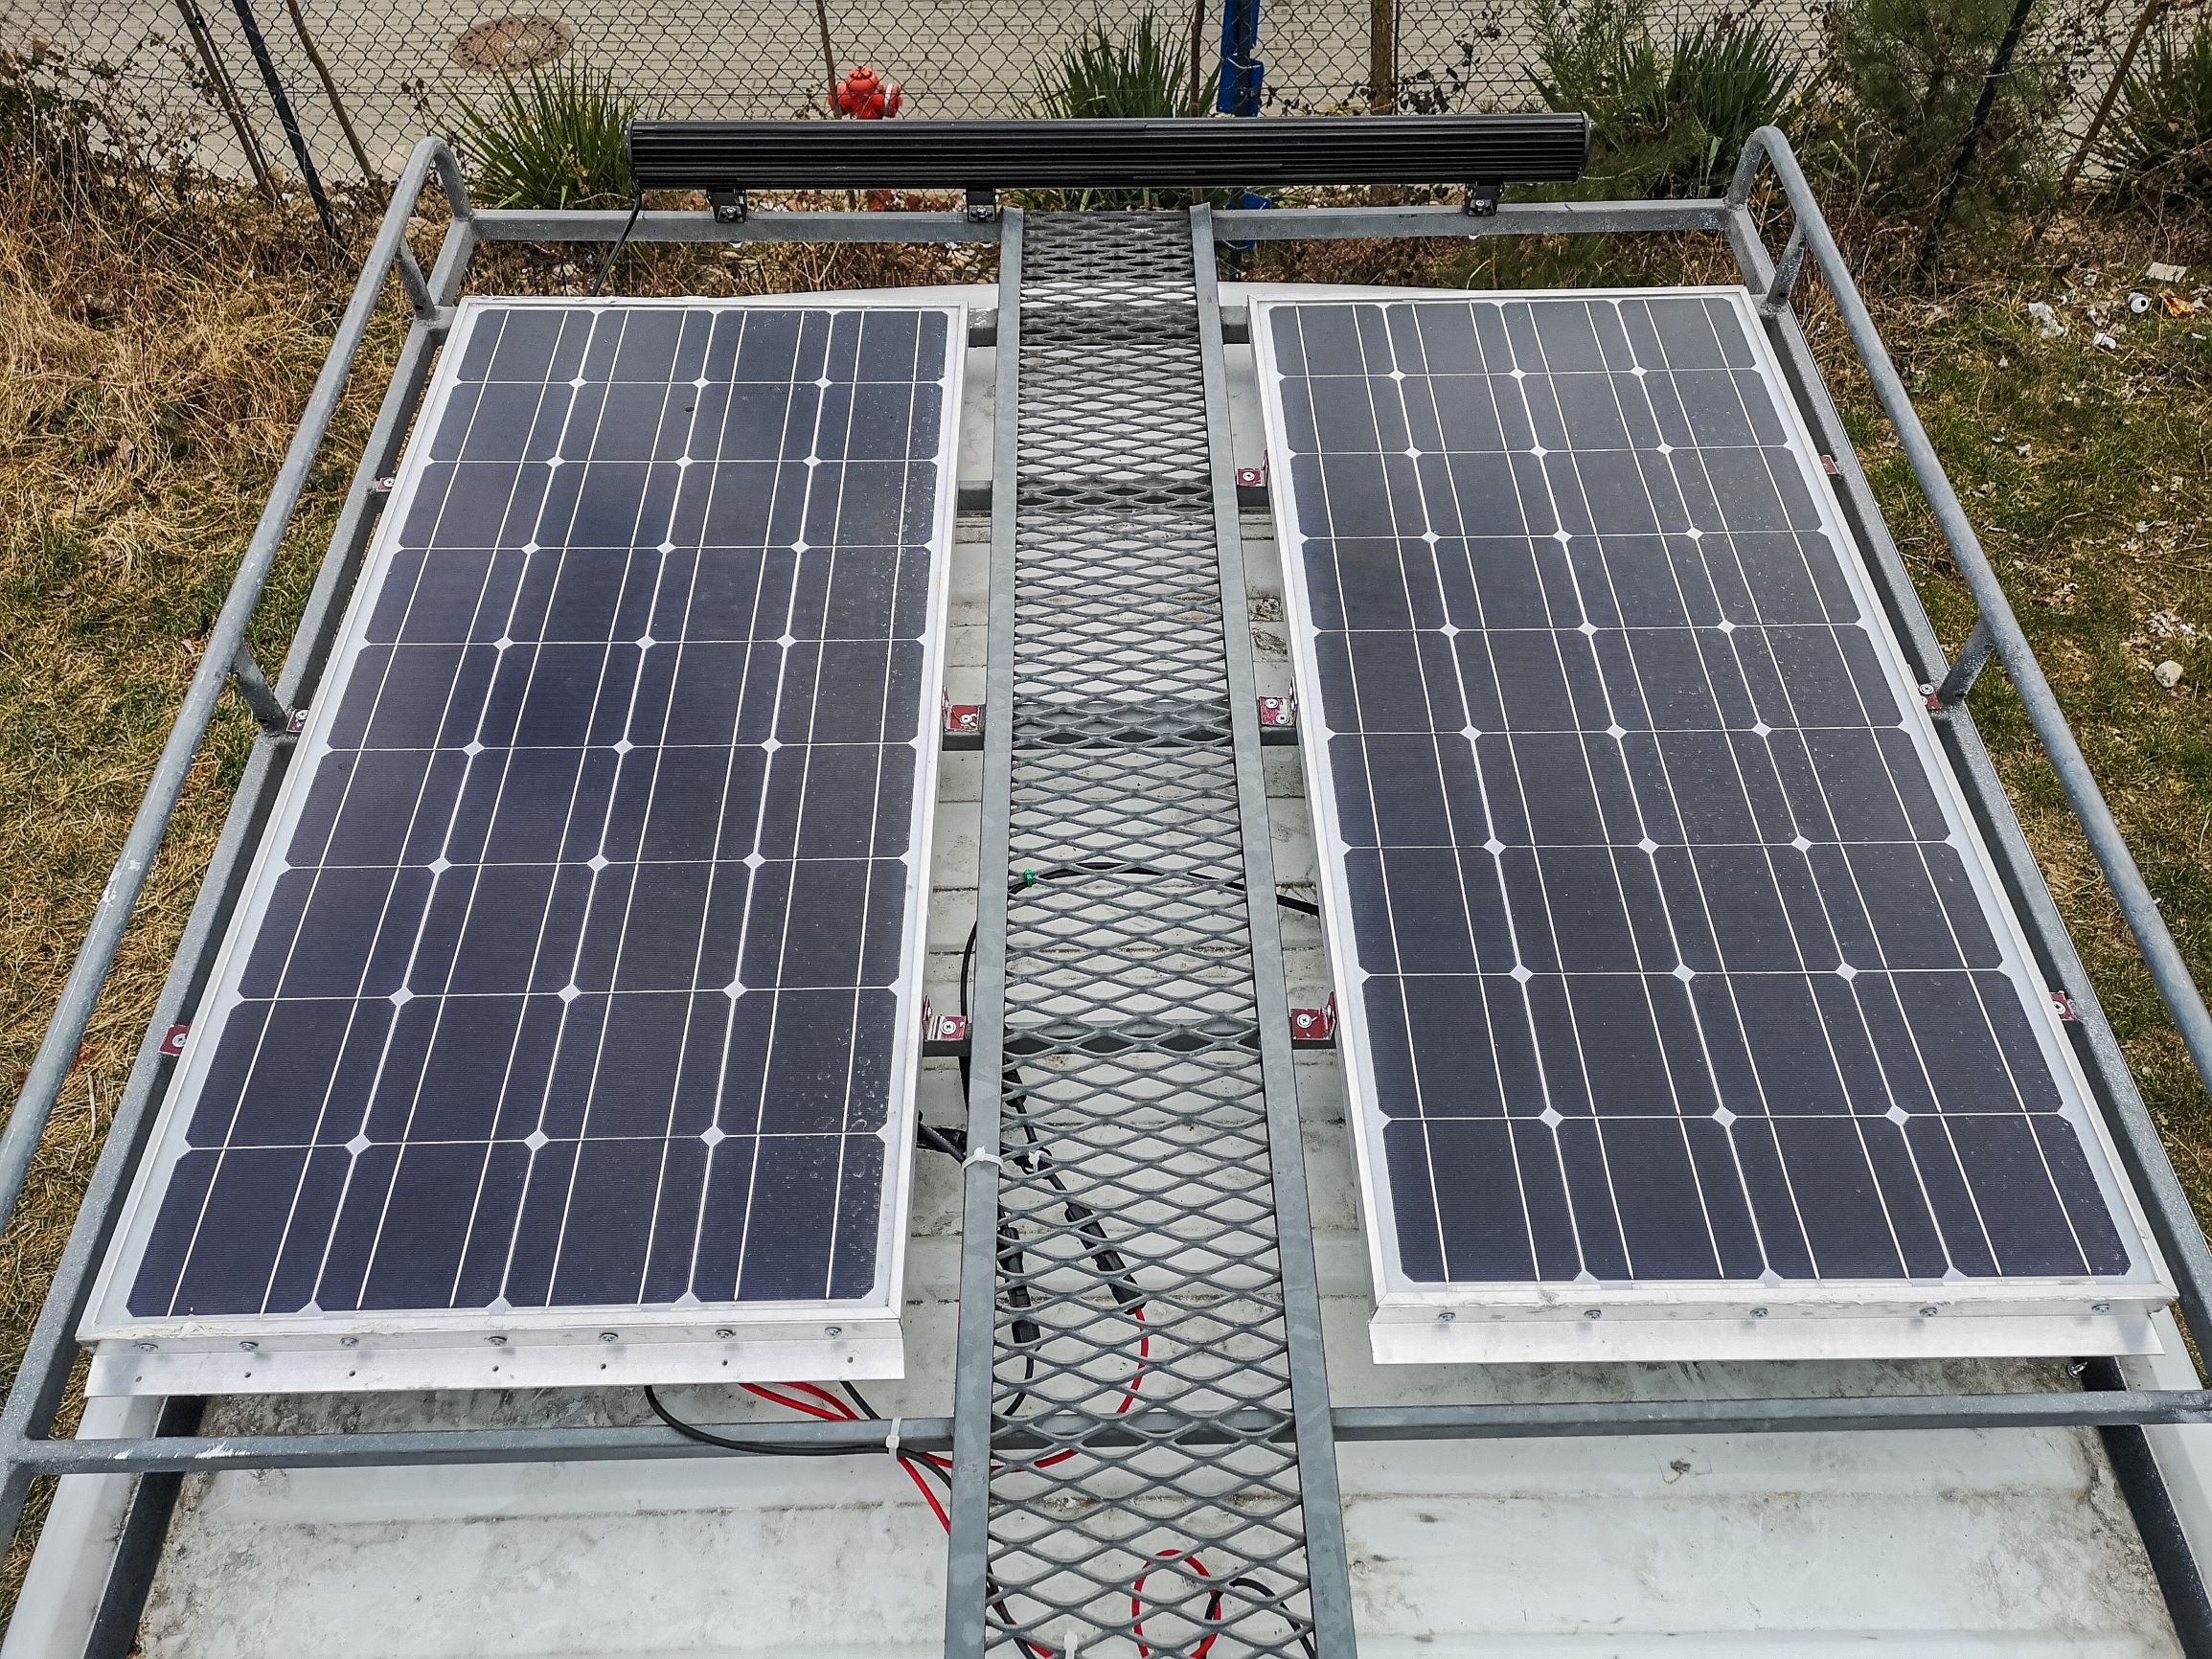
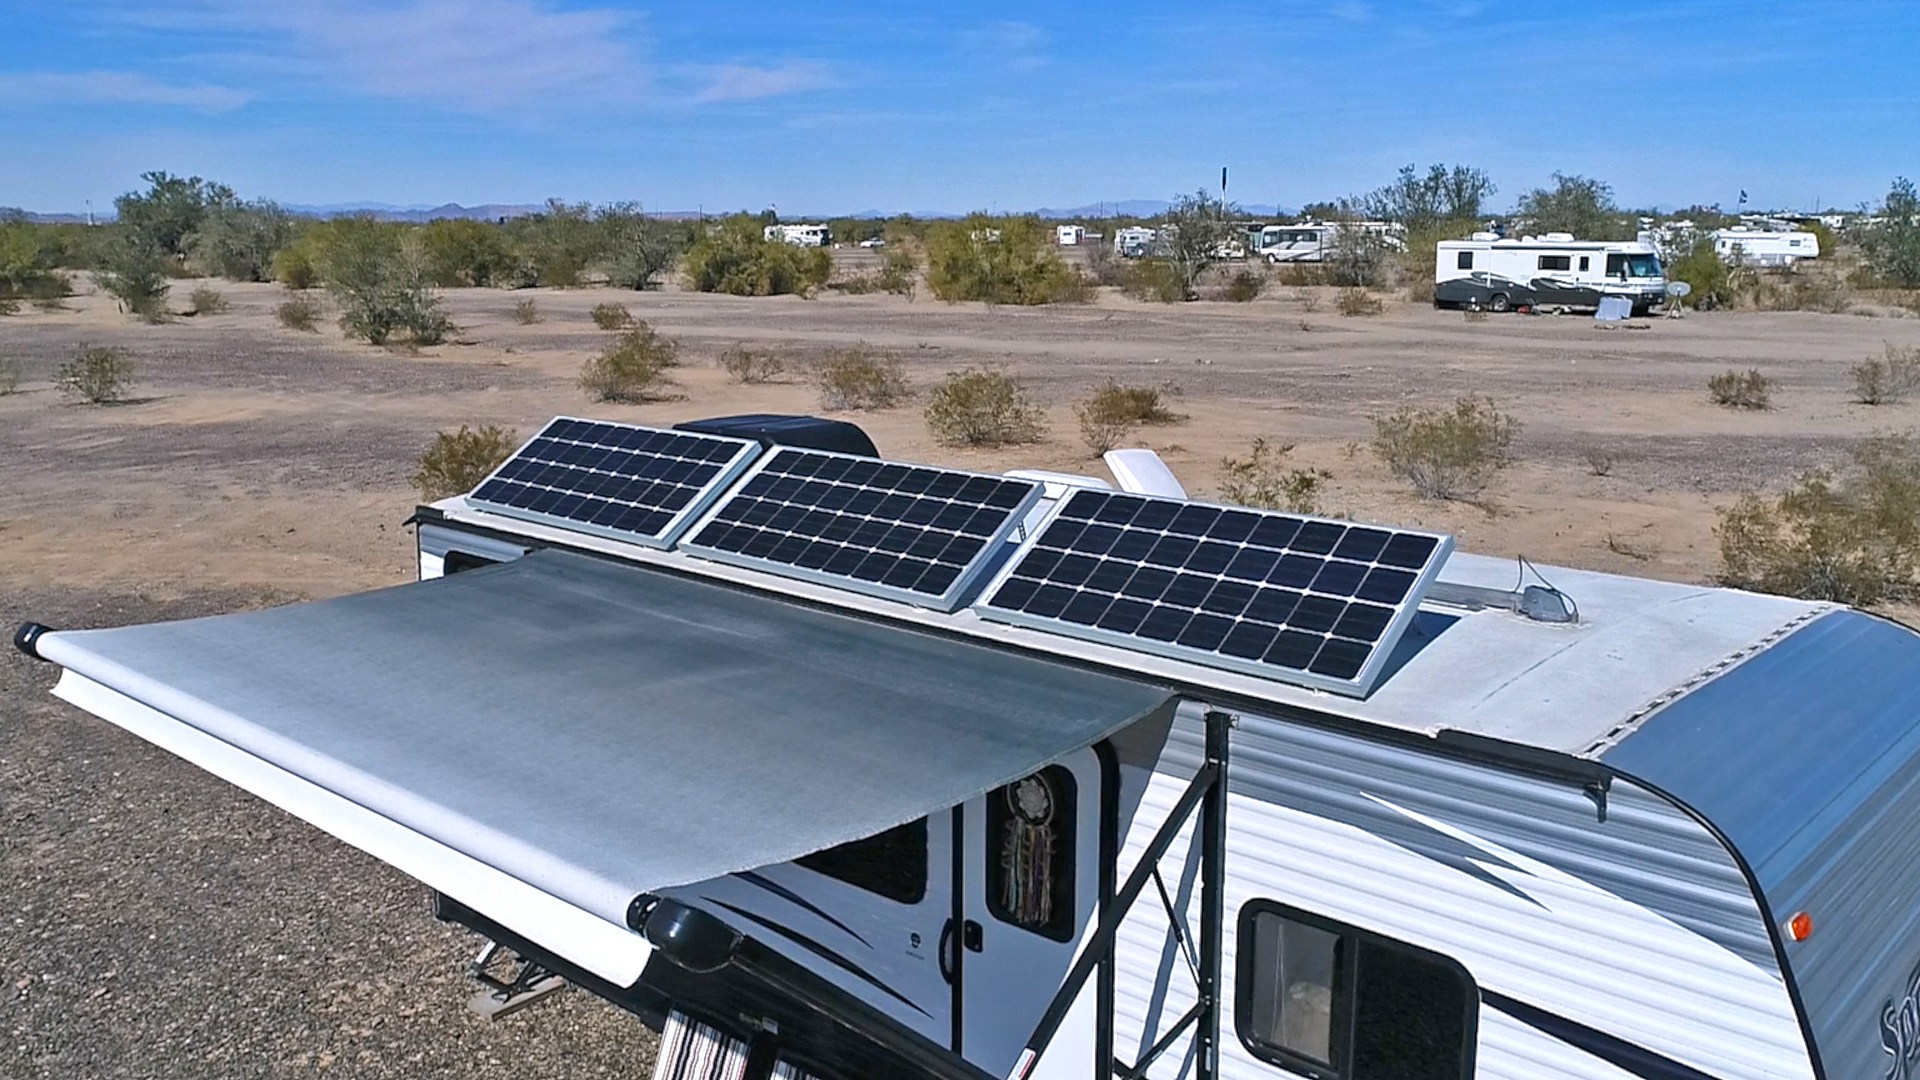
- Solar panels: Choose a solar panel system that suits your camper’s energy needs. Consider the size, wattage, and voltage of the panels.
- Charge controller: A charge controller regulates the flow of energy from the solar panels to the battery bank.
- Battery bank: A deep cycle battery bank stores excess energy generated by the solar panels for later use.
- Inverter/charger: An inverter/charger converts DC power from the battery bank to AC power for your camper’s electrical systems.
- Wiring and connectors: Use heavy-duty wiring and connectors to connect the solar panels, charge controller, battery bank, and inverter/charger.
- Fuses and circuit breakers: Install fuses and circuit breakers to protect your electrical systems from overloads and short circuits.
- Grounding equipment: Ensure proper grounding of your electrical systems to prevent electrical shock.
Safety Precautions
Wiring solar panels in a camper requires attention to safety precautions to prevent electrical shock, fires, and other hazards. Follow these guidelines:
- Disconnect the mains power source: Before starting the wiring process, disconnect the camper from any mains power source.
- Use personal protective equipment: Wear protective gear, such as gloves and safety glasses, when working with electrical systems.
- Follow manufacturer instructions: Read and follow the manufacturer’s instructions for the solar panel system, charge controller, battery bank, and inverter/charger.
- Ensure proper ventilation: Ensure good ventilation in the camper to prevent the buildup of hydrogen gas from the battery bank.
Wiring the Solar Panels
To wire the solar panels, follow these steps:
- Connect the solar panels in series or parallel: Connect the solar panels in series to increase the voltage or in parallel to increase the current. Ensure the total voltage and current ratings are within the charge controller’s specifications.
- Connect the solar panels to the charge controller: Use heavy-duty wiring and connectors to connect the solar panels to the charge controller. Ensure the wiring is sized correctly for the current and voltage ratings.
- Configure the charge controller: Configure the charge controller according to the manufacturer’s instructions. Set the voltage and current limits, as well as the charging algorithm.
- Connect the charge controller to the battery bank: Connect the charge controller to the battery bank using heavy-duty wiring and connectors. Ensure the wiring is sized correctly for the current and voltage ratings.
Wiring the Battery Bank
To wire the battery bank, follow these steps:
- Connect the batteries in series or parallel: Connect the batteries in series to increase the voltage or in parallel to increase the capacity. Ensure the total voltage and capacity ratings are within the inverter/charger’s specifications.
- Connect the battery bank to the inverter/charger: Use heavy-duty wiring and connectors to connect the battery bank to the inverter/charger. Ensure the wiring is sized correctly for the current and voltage ratings.
- Configure the inverter/charger: Configure the inverter/charger according to the manufacturer’s instructions. Set the voltage and current limits, as well as the charging algorithm.
Wiring the Inverter/Charger
To wire the inverter/charger, follow these steps:
- Connect the inverter/charger to the battery bank: Connect the inverter/charger to the battery bank using heavy-duty wiring and connectors. Ensure the wiring is sized correctly for the current and voltage ratings.
- Connect the inverter/charger to the camper’s electrical systems: Connect the inverter/charger to the camper’s electrical systems, such as the distribution panel and appliances.
- Configure the inverter/charger: Configure the inverter/charger according to the manufacturer’s instructions. Set the voltage and current limits, as well as the charging algorithm.
Troubleshooting Tips
If you encounter any issues during the wiring process or after installation, follow these troubleshooting tips:
- Check the wiring and connections: Verify that all wiring and connections are secure and correct.
- Check the charge controller and inverter/charger settings: Ensure the charge controller and inverter/charger are configured correctly.
- Check the battery bank state of charge: Ensure the battery bank is fully charged and in good condition.
- Check for shorts and overloads: Use a multimeter to check for shorts and overloads in the electrical systems.
Conclusion
Wiring solar panels in a camper requires careful planning, attention to detail, and adherence to safety precautions. By following the steps outlined in this article, you can create a reliable and efficient solar panel system that meets your camper’s energy needs. Remember to always follow manufacturer instructions and take necessary safety precautions to prevent electrical shock, fires, and other hazards. With a well-designed and installed solar panel system, you can enjoy the benefits of renewable energy and increased independence while camping or traveling in your RV.


