“DIY solar power system wiring for house”
Installing a DIY solar power system can be a cost-effective and rewarding experience, but it requires careful planning and attention to detail, particularly when it comes to wiring. In this article, we will provide a step-by-step guide on how to wire a DIY solar power system for your home.
Introduction to Solar Power Systems
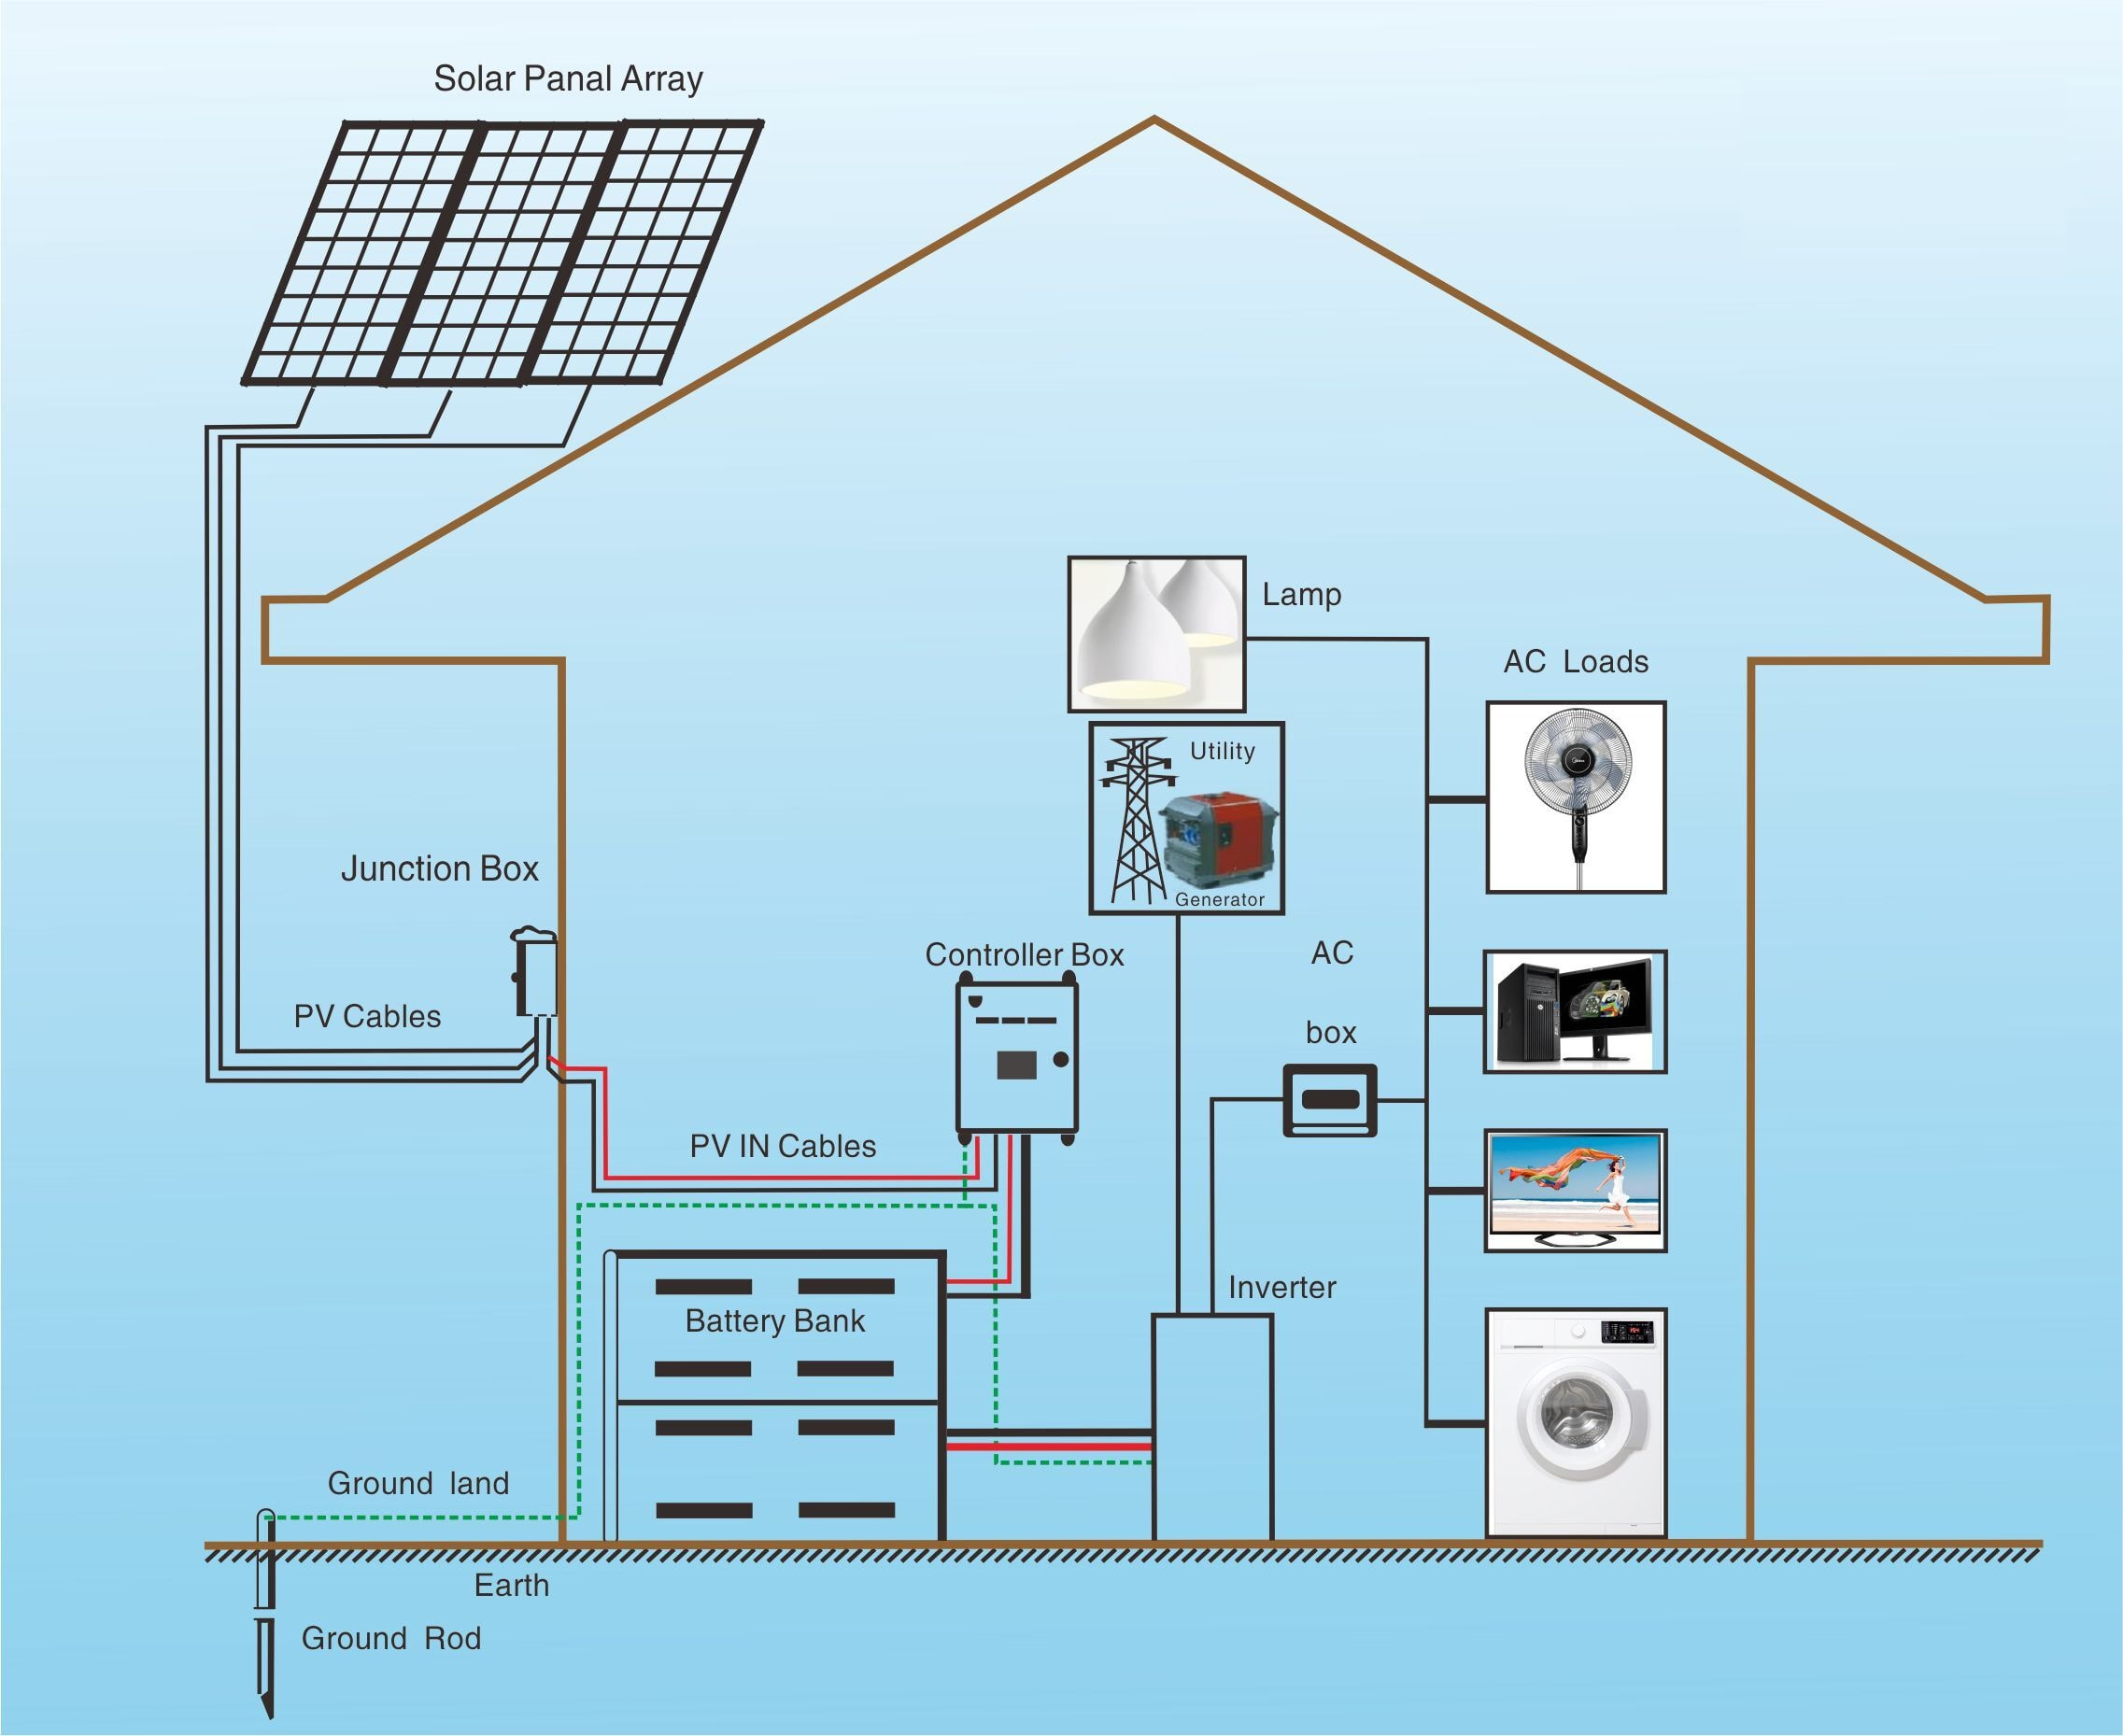
Before we dive into the wiring process, it’s essential to understand the basic components of a solar power system. A typical solar power system consists of:
- Solar Panels: These are the photovoltaic (PV) panels that convert sunlight into electrical energy.
- Charge Controller: This device regulates the flow of energy from the solar panels to the battery bank, preventing overcharging and ensuring the batteries are charged efficiently.
- Battery Bank: This is the storage system for the excess energy generated by the solar panels during the day, which is then used to power your home at night or during periods of low sunlight.
- Inverter: This device converts the DC (direct current) energy stored in the batteries into AC (alternating current) energy, which is compatible with your home’s electrical system.
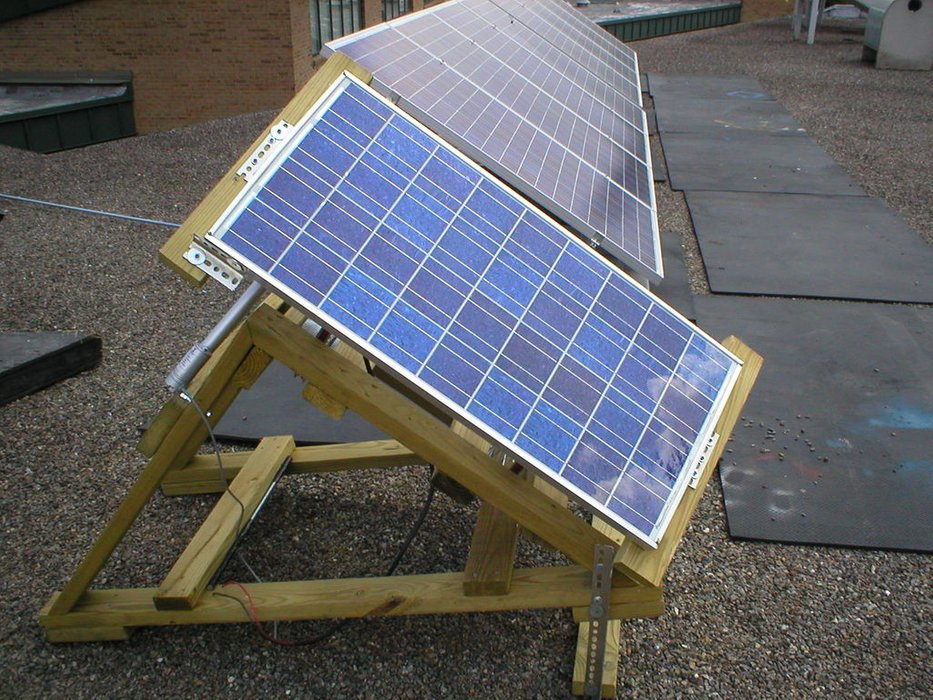
- Mounting System: This includes the frames, clamps, and other hardware used to secure the solar panels to the roof or a solar array.
Wiring Requirements
To ensure a safe and efficient wiring system, you’ll need to consider the following requirements:
- Voltage: Solar panels typically produce DC voltage, which ranges from 12V to 48V, depending on the panel’s specifications. The charge controller and inverter must be compatible with the voltage output of the solar panels.
- Current: The current output of the solar panels is measured in amps (A), and it’s essential to size the wiring and electrical components to handle the maximum current output of the system.
- Grounding: A proper grounding system is crucial to ensure the safety of the system and prevent electrical shock. The grounding system should be connected to the solar panels, charge controller, inverter, and other electrical components.
- Overcurrent Protection: This includes fuses, circuit breakers, or fuse holders that protect the system from overcurrent conditions, such as short circuits or electrical surges.
Wiring the Solar Power System
Now that we’ve covered the basics, let’s move on to the wiring process:
Step 1: Connect the Solar Panels
- Begin by connecting the solar panels in series or parallel, depending on the system’s design and the specifications of the panels. Series connections increase the voltage output, while parallel connections increase the current output.
- Use MC4 connectors or other compatible connectors to connect the solar panels to each other and to the charge controller.
- Ensure the solar panels are securely fastened to the mounting system to prevent movement or vibration.
Step 2: Connect the Charge Controller
- Connect the solar panel array to the charge controller, following the manufacturer’s instructions for wire sizing and connection.
- Ensure the charge controller is properly configured for the system’s voltage and current requirements.
- Connect the charge controller to the battery bank, using the recommended wire size and type.
Step 3: Connect the Battery Bank
- Connect the batteries in series or parallel, depending on the system’s design and the specifications of the batteries.
- Use the recommended wire size and type to connect the batteries to each other and to the charge controller.
- Ensure the batteries are properly secured to the battery rack or enclosure.
Step 4: Connect the Inverter
- Connect the battery bank to the inverter, following the manufacturer’s instructions for wire sizing and connection.
- Ensure the inverter is properly configured for the system’s voltage and current requirements.
- Connect the inverter to the electrical panel or load center, using the recommended wire size and type.
Step 5: Grounding and Bonding
- Connect the grounding system to the solar panels, charge controller, inverter, and other electrical components.
- Ensure the grounding system is properly sized and configured to handle the system’s electrical currents.
- Bond the grounding system to the electrical panel or load center, using the recommended wire size and type.
Step 6: Overcurrent Protection
- Install fuses, circuit breakers, or fuse holders to protect the system from overcurrent conditions.
- Ensure the overcurrent protection devices are properly sized and configured for the system’s electrical currents.
- Connect the overcurrent protection devices to the solar panel array, charge controller, battery bank, and inverter.
Safety Considerations
When working with electrical systems, safety is paramount. Remember to:
- Turn off the power: Before starting work on the system, ensure the power is turned off at the electrical panel or load center.
- Use personal protective equipment: Wear protective gear, such as gloves, safety glasses, and a hard hat, to prevent injury.
- Follow manufacturer instructions: Adhere to the manufacturer’s instructions for wire sizing, connection, and configuration.
- Hire a professional: If you’re not experienced with electrical systems, consider hiring a licensed electrician to perform the wiring and installation.
Conclusion
Wiring a DIY solar power system requires careful planning, attention to detail, and a thorough understanding of electrical systems. By following the steps outlined in this article and ensuring compliance with local electrical codes and regulations, you can create a safe and efficient solar power system for your home. Remember to always prioritize safety and consider hiring a professional if you’re unsure about any aspect of the installation process. With a well-designed and properly installed solar power system, you can enjoy the benefits of renewable energy and reduce your reliance on the grid.


