“Step-by-step off-grid camper solar installation”
Installing a solar panel system on your camper can be a daunting task, but with the right guidance, you can harness the power of the sun to generate electricity and live off the grid. In this article, we will walk you through a step-by-step guide on how to install a solar panel system on your camper, providing you with a comprehensive understanding of the process.
Why Go Off-Grid with Solar Power?
Before we dive into the installation process, let’s explore the benefits of going off-grid with solar power. Solar energy is a clean, renewable, and sustainable source of power that reduces your reliance on fossil fuels and lowers your carbon emissions. With a solar panel system, you can:
- Reduce your energy costs and save money on fuel
- Increase your camping independence and freedom
- Enjoy a quieter and more peaceful camping experience
- Extend your camping season and boondocking capabilities
- Enhance your overall camping experience with a reliable and sustainable source of power
System Components and Requirements
To install a solar panel system on your camper, you will need the following components:
- Solar Panels: The solar panels will convert sunlight into electrical energy. The number and size of the panels will depend on your energy requirements and the size of your camper.
- Charge Controller: The charge controller regulates the flow of energy from the solar panels to the battery, preventing overcharging and prolonging the lifespan of the battery.
- Battery: The battery stores excess energy generated by the solar panels during the day for use at night or on cloudy days.
- Inverter/Charger: The inverter/charger converts DC power from the battery to AC power for use with appliances and charges the battery when connected to a shore power source.
- Mounting Hardware: The mounting hardware secures the solar panels to the camper roof and provides a safe and stable platform for the system.
Step-by-Step Installation Guide
Now that we have covered the system components and requirements, let’s move on to the step-by-step installation guide:

Step 1: Assess Your Energy Requirements
Before installing the solar panel system, you need to assess your energy requirements. Calculate your daily energy consumption by considering the following factors:
- Lighting: LED lights, interior and exterior
- Appliances: refrigerator, stove, microwave, and other appliances
- Electronics: phone, laptop, and other devices
- Water pump and other systems
Use an energy audit template to calculate your energy requirements and determine the size of the solar panel system you need.
Step 2: Choose the Right Solar Panels
Selecting the right solar panels is crucial for your off-grid camper solar installation. Consider the following factors:
- Efficiency: Look for high-efficiency solar panels (20% or higher) to maximize energy production.
- Wattage: Calculate the total wattage required to meet your energy needs.
- Size: Choose a panel size that fits your camper roof and is easy to handle.
- Durability: Select panels with a durable frame and long warranty (25 years or more).
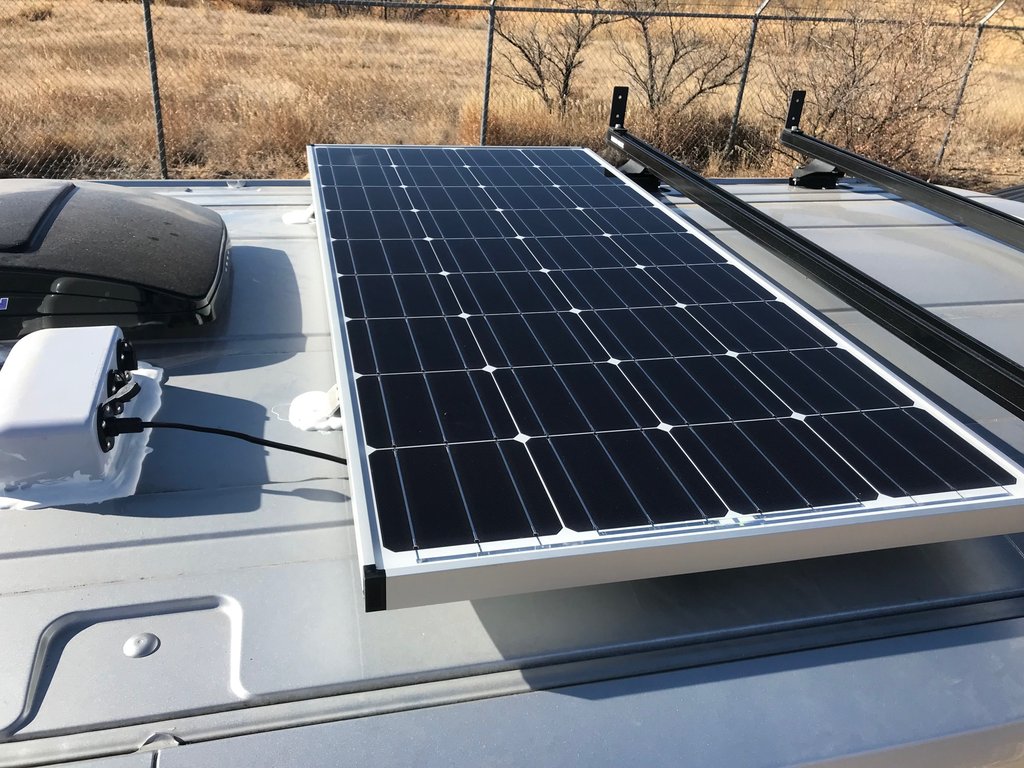
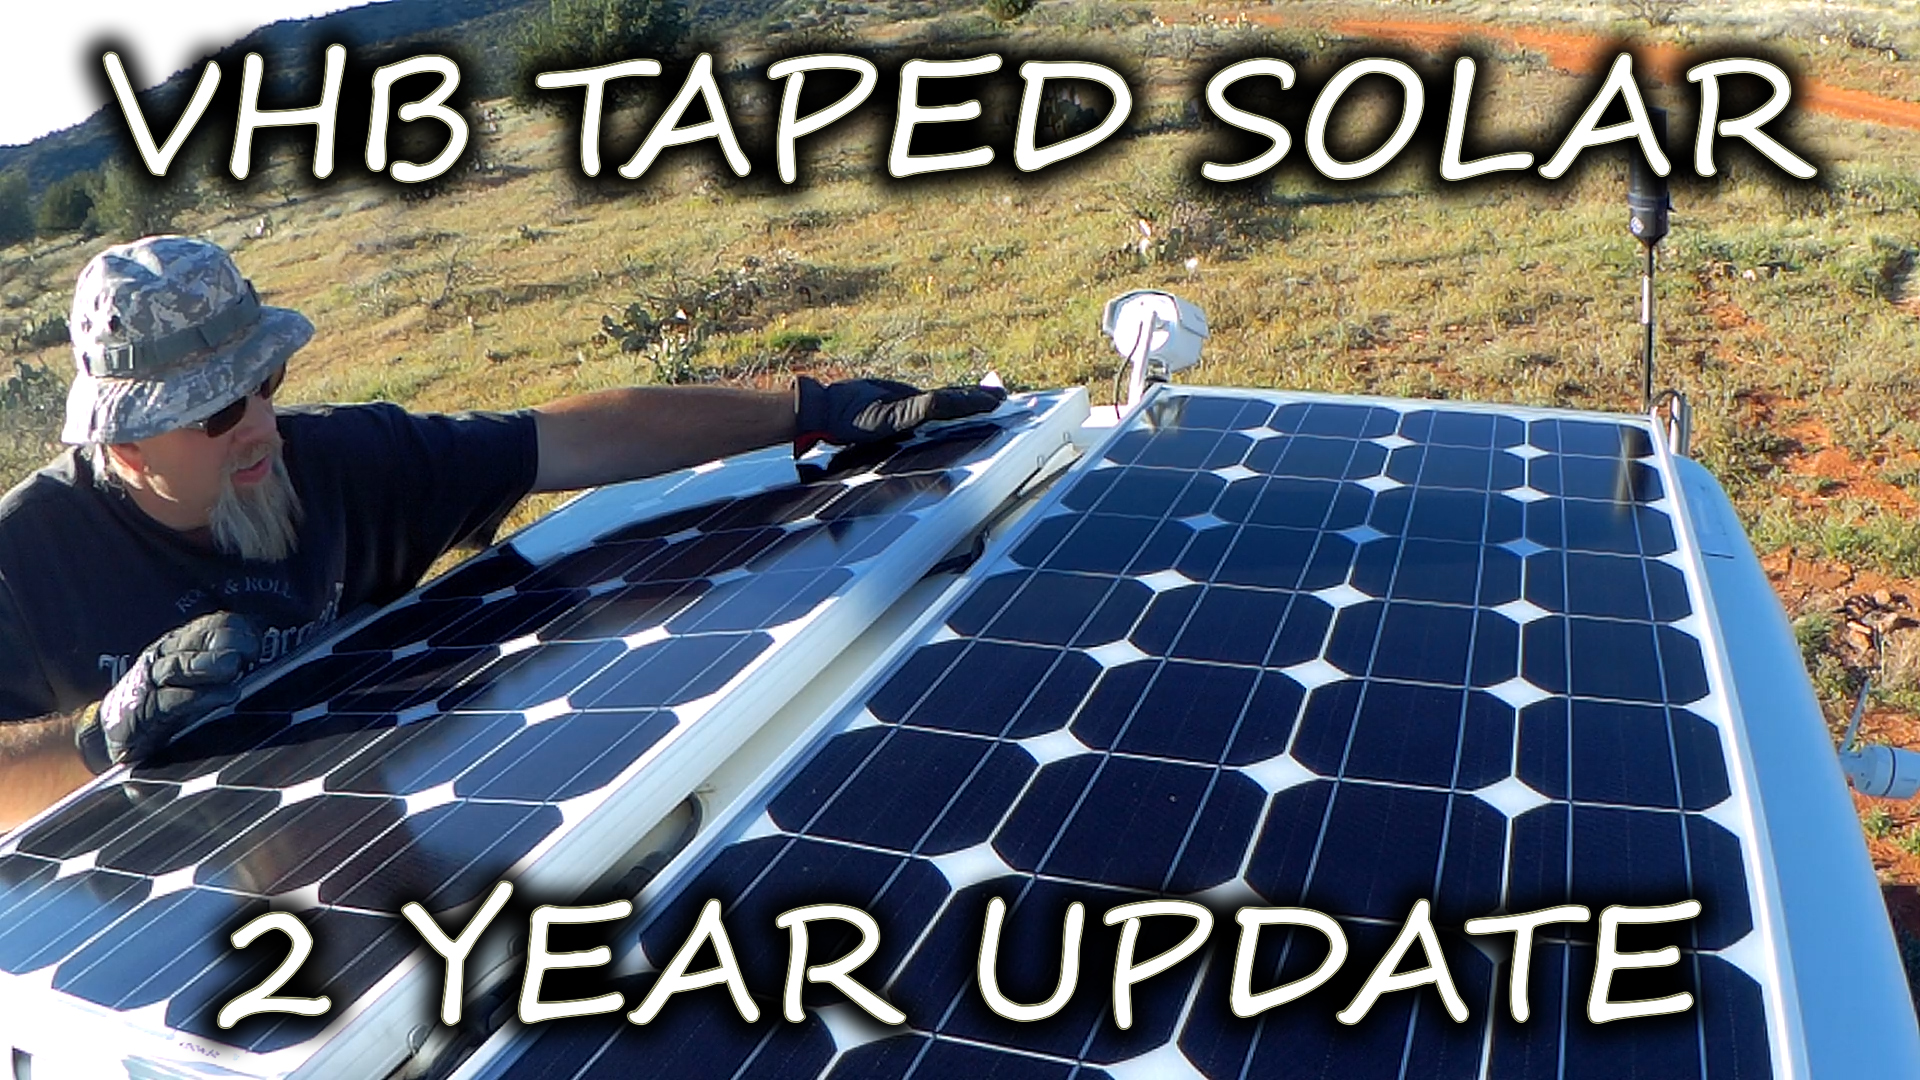
Step 3: Install the Solar Panels
Install the solar panels on the camper roof, following these steps:
- Clean the roof surface to ensure a secure bond.
- Apply a layer of sealant to the roof to prevent water intrusion.
- Attach the solar panel mounting hardware to the roof.
- Mount the solar panels to the hardware, ensuring a secure and level fit.
- Connect the solar panels in series or parallel, depending on your system configuration.
Step 4: Install the Charge Controller
Install the charge controller, following these steps:
- Choose a location for the charge controller, such as near the battery or in a accessible area.
- Connect the solar panel cables to the charge controller.
- Configure the charge controller settings, such as voltage and current limits.
- Connect the charge controller to the battery.
Step 5: Install the Battery
Install the battery, following these steps:
- Choose a location for the battery, such as in a battery compartment or under the camper.
- Connect the battery cables to the charge controller.
- Ensure the battery is properly vented and maintained.
Step 6: Install the Inverter/Charger
Install the inverter/charger, following these steps:
- Choose a location for the inverter/charger, such as near the battery or in an accessible area.
- Connect the inverter/charger to the battery.
- Configure the inverter/charger settings, such as voltage and current limits.
- Connect the inverter/charger to the shore power source (if applicable).
Step 7: Test and Monitor the System
Test and monitor the system to ensure it is functioning correctly:
- Check the solar panel voltage and current output.
- Monitor the charge controller and battery voltage.
- Test the inverter/charger output and shore power connection.
- Use a system monitor to track energy production, consumption, and battery state of charge.
Tips and Considerations
When installing a solar panel system on your camper, keep the following tips and considerations in mind:
- Ensure the solar panels are installed at the optimal angle and orientation to maximize energy production.
- Use a solar panel cleaning kit to maintain the panels and prevent reduced energy production.
- Consider adding a battery monitor to track battery state of charge and prevent over-discharging.
- Use a solar panel system with a built-in grounding system to prevent electrical shock.
- Regularly inspect and maintain the system to ensure optimal performance and longevity.
Conclusion
Installing a solar panel system on your camper is a rewarding and cost-effective way to generate electricity and live off the grid. By following this step-by-step guide, you can harness the power of the sun to enjoy a more sustainable and independent camping experience. Remember to assess your energy requirements, choose the right solar panels, and install the system with care and attention to detail. With a properly installed solar panel system, you can enjoy the freedom and adventure of off-grid camping, while reducing your environmental impact and saving money on energy costs. Happy camping!