“How to wire solar panels with battery backup for home”:max_bytes(150000):strip_icc()/GettyImages-1306175466-5fea06cef4d6421993ed4385257eba50.jpg)
Installing solar panels with a battery backup system can provide a reliable and efficient way to power your home, even during power outages or at night when the sun is not shining. In this article, we will walk you through the process of wiring solar panels with a battery backup system for your home, covering the essential components, safety considerations, and step-by-step instructions.
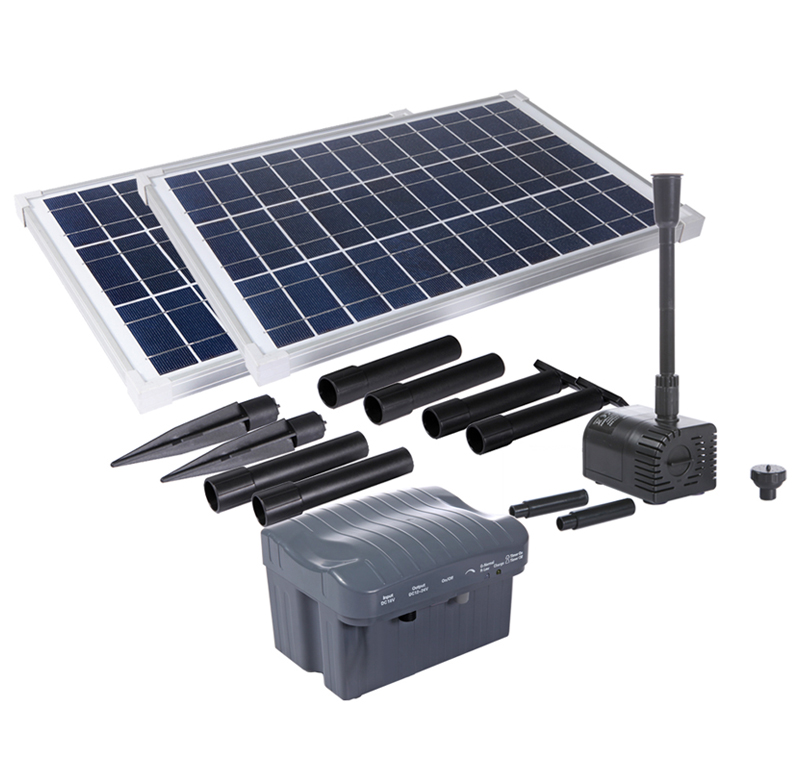
Understanding the Components
Before we dive into the wiring process, it’s essential to understand the key components involved in a solar panel with battery backup system:
- Solar Panels: These are the photovoltaic (PV) panels that convert sunlight into electricity. They are typically mounted on the roof or in a solar array.
- Charge Controller: This device regulates the flow of energy from the solar panels to the battery bank, preventing overcharging and ensuring the batteries are charged efficiently.
- Battery Bank: This is a collection of deep cycle batteries that store excess energy generated by the solar panels during the day for use at night or during power outages.
- Inverter/Charger: This device converts the DC power from the solar panels and battery bank into AC power for use in the home. It also charges the battery bank from the grid when the sun is not shining.
- Transfer Switch: This device automatically switches the home’s electrical panel between the grid and the solar panel system, ensuring a seamless transition during power outages.
- Electrical Panel: This is the main panel that distributes power to the various circuits in the home.
Safety Considerations
When working with electrical systems, safety is paramount. Before starting the project, ensure you:
- Turn off the main power: Switch off the main power supply to the home at the electrical panel.
- Use proper protective gear: Wear safety glasses, gloves, and a voltage tester to prevent electrical shocks.
- Follow local building codes: Familiarize yourself with local building codes and regulations regarding solar panel installations.
- Hire a professional: If you’re not experienced with electrical work, consider hiring a licensed electrician to ensure the system is installed correctly and safely.
Step-by-Step Instructions
Now that we’ve covered the essential components and safety considerations, let’s move on to the step-by-step instructions for wiring solar panels with a battery backup system:

Step 1: Plan the System
- Determine the energy requirements: Calculate the total energy requirements of your home, including the number of appliances, lighting, and other loads.
- Choose the right components: Select the suitable solar panels, charge controller, battery bank, inverter/charger, and transfer switch based on your energy requirements.
- Design the system layout: Create a detailed diagram of the system, including the location of each component and the wiring connections.
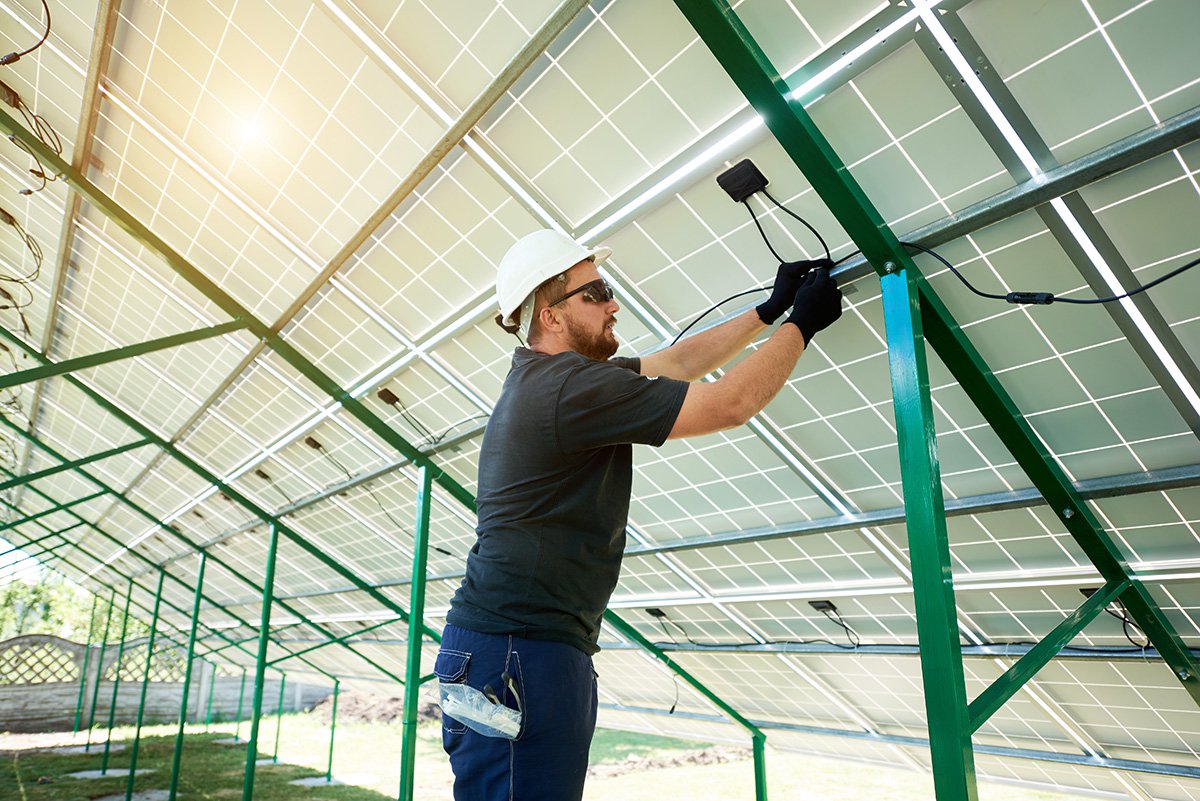
Step 2: Install the Solar Panels
- Mount the solar panels: Install the solar panels on the roof or in a solar array, ensuring they are securely fastened and facing the correct direction (typically south-facing).
- Connect the solar panels: Connect the solar panels in series or parallel, depending on the system design, using MC4 connectors or a similar connector type.
- Run the solar panel cables: Run the cables from the solar panels to the charge controller, ensuring they are properly sized and insulated.
Step 3: Install the Charge Controller
- Mount the charge controller: Install the charge controller in a dry, cool location, such as a utility room or garage.
- Connect the solar panel cables: Connect the solar panel cables to the charge controller, following the manufacturer’s instructions.
- Configure the charge controller: Set up the charge controller to regulate the flow of energy from the solar panels to the battery bank.
Step 4: Install the Battery Bank
- Choose the battery location: Select a well-ventilated, dry area for the battery bank, such as a basement or garage.
- Connect the batteries: Connect the batteries in series or parallel, depending on the system design, using the manufacturer’s recommended connections.
- Install the battery cables: Run the cables from the battery bank to the inverter/charger, ensuring they are properly sized and insulated.
Step 5: Install the Inverter/Charger
- Mount the inverter/charger: Install the inverter/charger in a dry, cool location, such as a utility room or garage.
- Connect the battery cables: Connect the battery cables to the inverter/charger, following the manufacturer’s instructions.
- Configure the inverter/charger: Set up the inverter/charger to convert the DC power from the battery bank to AC power for use in the home.
Step 6: Install the Transfer Switch
- Mount the transfer switch: Install the transfer switch near the electrical panel, ensuring it is easily accessible.
- Connect the transfer switch: Connect the transfer switch to the inverter/charger and the electrical panel, following the manufacturer’s instructions.
- Configure the transfer switch: Set up the transfer switch to automatically switch the home’s electrical panel between the grid and the solar panel system during power outages.
Step 7: Connect the Electrical Panel
- Connect the inverter/charger output: Connect the output of the inverter/charger to the electrical panel, ensuring it is properly sized and insulated.
- Connect the grid tie: Connect the grid tie to the electrical panel, ensuring it is properly sized and insulated.
- Test the system: Test the system to ensure it is functioning correctly and efficiently.
Conclusion
Wiring solar panels with a battery backup system requires careful planning, attention to safety, and a thorough understanding of the components involved. By following the step-by-step instructions outlined in this article, you can create a reliable and efficient solar panel system with battery backup for your home. Remember to always follow local building codes and regulations, and consider hiring a licensed electrician if you’re not experienced with electrical work. With a well-designed and installed solar panel system, you can enjoy the benefits of renewable energy and reduce your reliance on the grid.