“Wiring layout for 12V RV solar power system”
A 12V RV solar power system is an excellent way to harness the sun’s energy and reduce your reliance on traditional fuel sources. However, designing and installing a solar power system can be a daunting task, especially when it comes to wiring. In this article, we will guide you through the wiring layout for a 12V RV solar power system, helping you to create a safe, efficient, and reliable system.
Understanding the Components
Before we dive into the wiring layout, it’s essential to understand the components involved in a 12V RV solar power system. The key components include:
- Solar Panels: These are the panels that convert sunlight into electrical energy. The number and size of the panels will depend on your energy needs and available space.
- Charge Controller: This device regulates the flow of energy from the solar panels to the battery, preventing overcharging and ensuring the battery is charged safely.
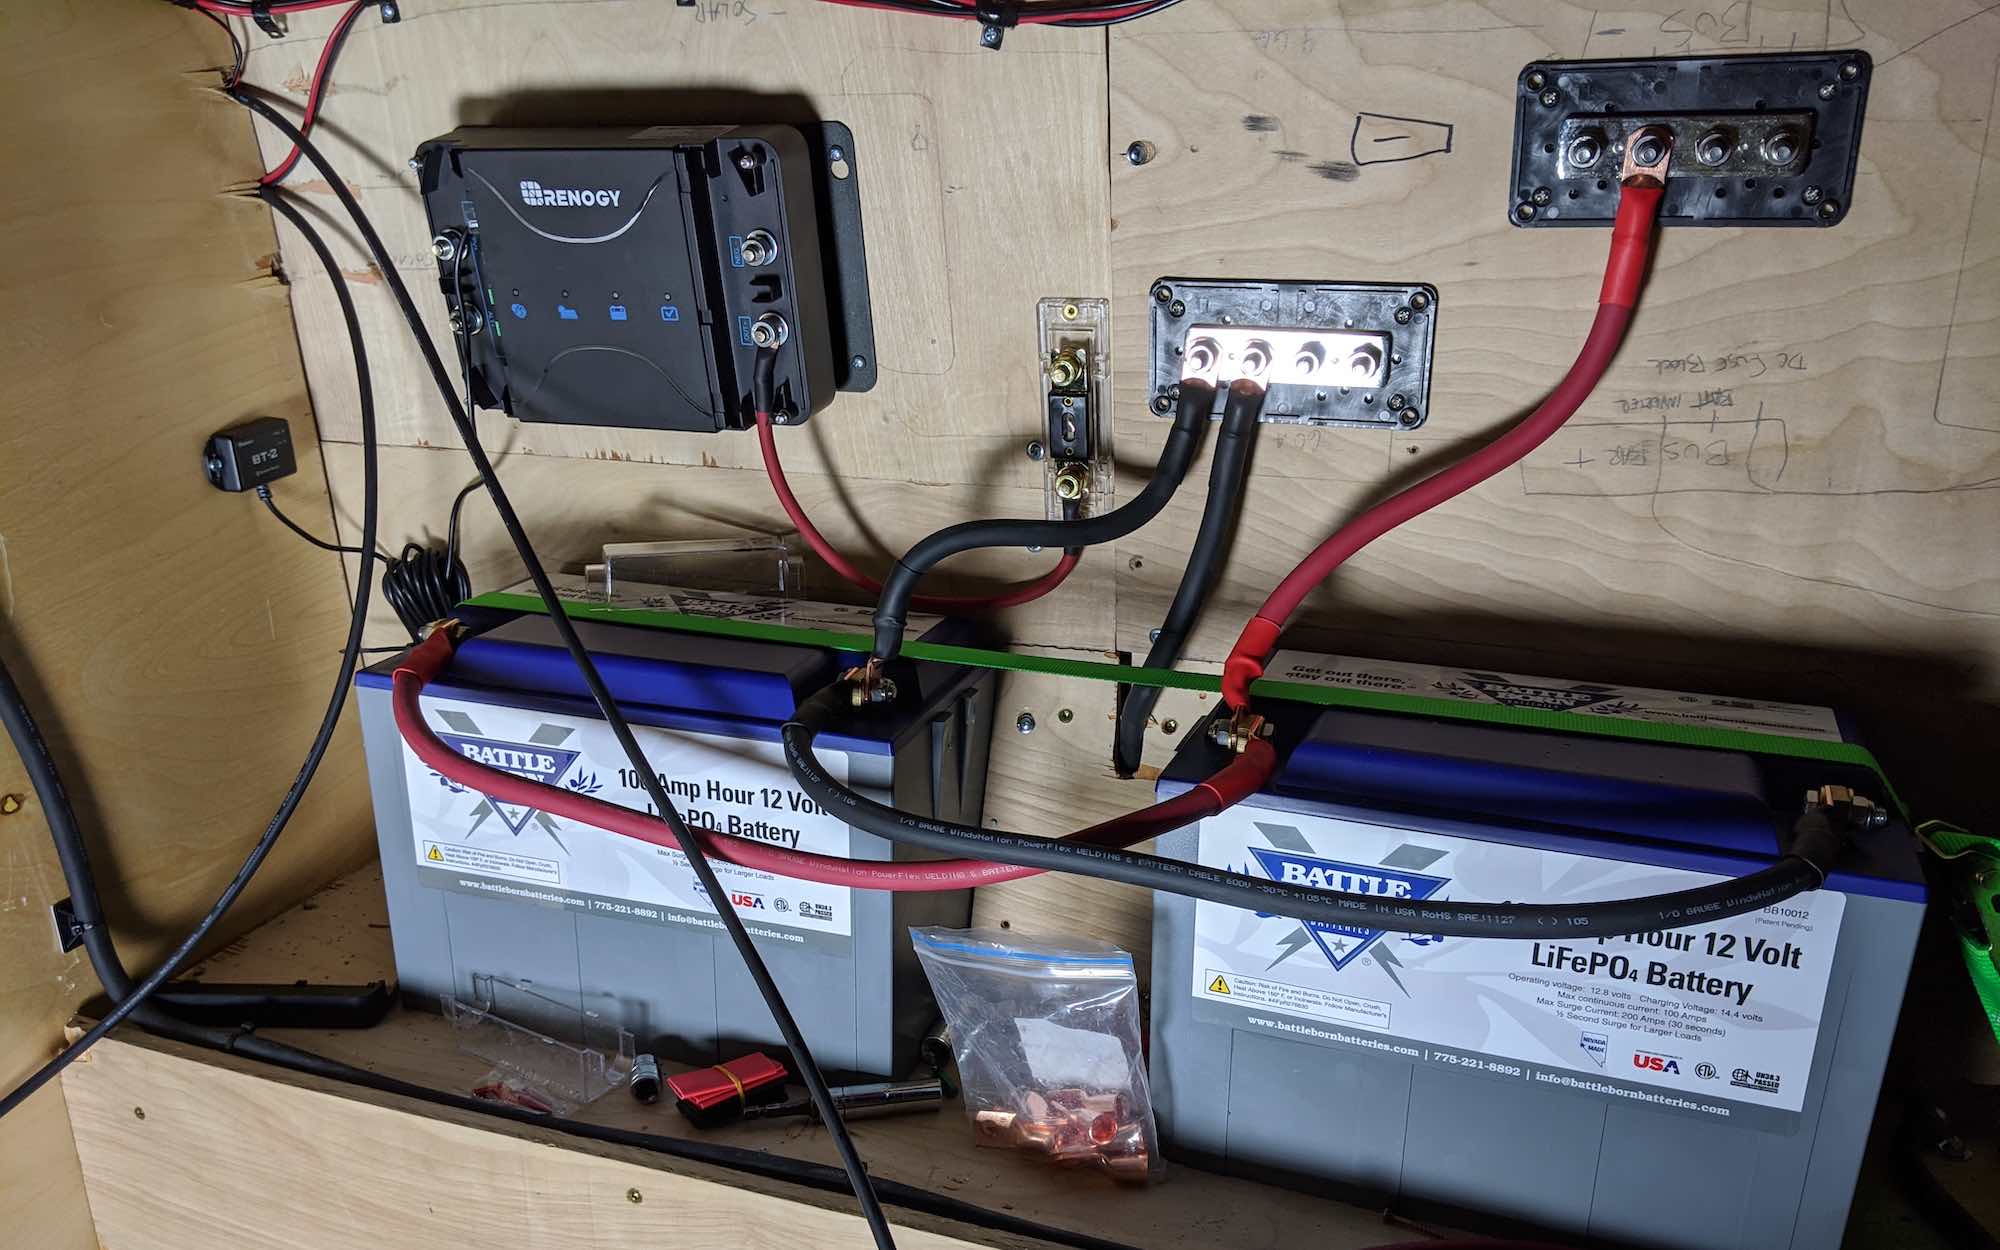
- Battery: This is the energy storage component of the system, typically a deep cycle battery designed to withstand repeated charging and discharging cycles.
- Inverter/Converter: This device converts the 12V DC power from the battery to 120V AC power, allowing you to use standard household appliances.
- Wiring and Connectors: The wiring and connectors are crucial components that connect the various parts of the system, ensuring safe and efficient energy transfer.
Wiring Layout Considerations
When designing the wiring layout for your 12V RV solar power system, there are several factors to consider:
- Safety: The wiring layout must ensure safe and efficient energy transfer, minimizing the risk of electrical shock or fire.
- Efficiency: The wiring layout should minimize energy losses, ensuring that the maximum amount of energy is available for use.
- Space Constraints: The wiring layout must take into account the available space within your RV, ensuring that all components are securely and neatly installed.
- Scalability: The wiring layout should be designed to accommodate future upgrades or additions to the system.
Wiring Layout Diagram
The following diagram illustrates a typical wiring layout for a 12V RV solar power system:
+---------------+ | Solar Panels | +---------------+ | | v +---------------+ | Charge Controller | +---------------+ | | v +---------------+ | Battery | +---------------+ | | v +---------------+ | Inverter/Converter | +---------------+ | | v +---------------+ | AC Load Center | +---------------+ | | v +---------------+ | Shore Power | +---------------+
Wiring Layout Components
The following components are used in the wiring layout:
- Solar Panel Connectors: These connectors connect the solar panels to the charge controller. They should be rated for the maximum output of the solar panels.
- Charge Controller Connectors: These connectors connect the charge controller to the battery and solar panels. They should be rated for the maximum output of the charge controller.
- Battery Connectors: These connectors connect the battery to the inverter/converter and charge controller. They should be rated for the maximum output of the battery.
- Inverter/Converter Connectors: These connectors connect the inverter/converter to the AC load center and battery. They should be rated for the maximum output of the inverter/converter.
- AC Load Center Connectors: These connectors connect the AC load center to the shore power and inverter/converter. They should be rated for the maximum output of the inverter/converter.
Wiring Layout Best Practices
To ensure a safe and efficient wiring layout, follow these best practices:
- Use the correct gauge wire: Use wire that is rated for the maximum current output of the component it is connecting.
- Keep wiring runs short: Minimize the length of wiring runs to reduce energy losses and improve efficiency.
- Use protective covering: Use protective covering, such as conduit or cable ties, to protect wiring from damage and abrasion.
- Label wiring: Label wiring clearly to ensure easy identification and troubleshooting.
- Test the system: Test the system thoroughly before using it to ensure that it is functioning correctly and safely.
Common Wiring Layout Mistakes
Avoid the following common wiring layout mistakes:
- Insufficient wire size: Using wire that is too small can lead to energy losses and overheating.
- Incorrect connector ratings: Using connectors that are not rated for the maximum output of the component can lead to overheating and failure.
- Poor wiring routing: Failing to route wiring correctly can lead to damage and abrasion.
- Inadequate protection: Failing to provide adequate protection for wiring can lead to damage and electrical shock.
Conclusion
Designing and installing a 12V RV solar power system requires careful planning and attention to detail. A well-designed wiring layout is crucial to ensure safe and efficient energy transfer, minimizing the risk of electrical shock or fire. By following the guidelines and best practices outlined in this article, you can create a reliable and efficient wiring layout for your 12V RV solar power system, providing you with a sustainable and renewable source of energy for your RV adventures.
Recommendations
Based on the wiring layout considerations and best practices outlined in this article, we recommend the following:
- Hire a professional: If you are not experienced in designing and installing electrical systems, consider hiring a professional to ensure a safe and efficient wiring layout.
- Use high-quality components: Use high-quality components, such as solar panels, charge controllers, and inverters, to ensure a reliable and efficient system.
- Monitor and maintain the system: Regularly monitor and maintain the system to ensure that it is functioning correctly and safely.
By following these recommendations and guidelines, you can create a safe and efficient 12V RV solar power system, providing you with a sustainable and renewable source of energy for your RV adventures.