“12V RV solar wiring diagram”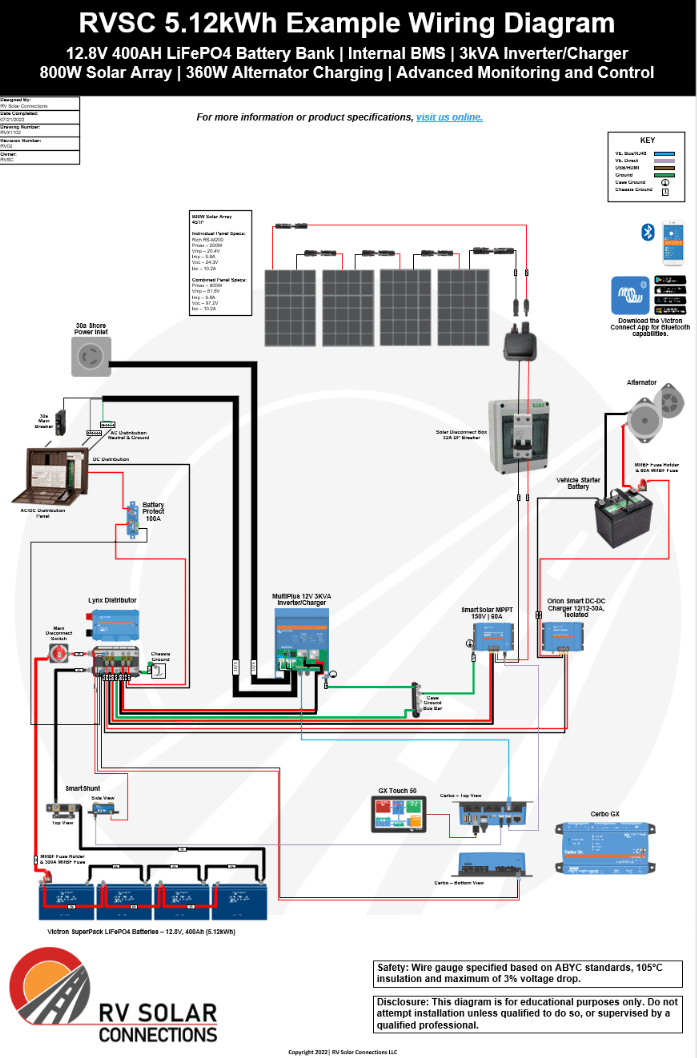
Installing a solar panel system on your RV can provide you with a reliable and sustainable source of energy, allowing you to boondock for extended periods without worrying about running out of power. However, designing and installing a 12V RV solar wiring system can be a daunting task, especially for those without prior experience. In this article, we will provide a comprehensive guide to creating a 12V RV solar wiring diagram, including the necessary components, wiring requirements, and safety considerations.
Understanding the Basics
Before we dive into the wiring diagram, it’s essential to understand the basics of a 12V RV solar panel system. A typical system consists of the following components:
- Solar Panels: These are the photovoltaic (PV) panels that convert sunlight into electrical energy. The number and size of the panels will depend on your energy needs and available roof space.
- Charge Controller: This device regulates the flow of energy from the solar panels to the battery, preventing overcharging and ensuring the battery is charged safely and efficiently.
- Battery Bank: This is the deep cycle battery or battery bank that stores the energy generated by the solar panels. The size of the battery bank will depend on your energy needs and the capacity of the solar panel system.
- Inverter/Charger: This device converts the DC power from the battery bank into AC power, allowing you to run appliances and charge devices.
- Wiring and Connectors: These are the cables and connectors that link the various components together, allowing energy to flow through the system.
Creating a 12V RV Solar Wiring Diagram
To create a 12V RV solar wiring diagram, you’ll need to consider the following factors:
- System Voltage: The voltage of the system, which in this case is 12V.
- Panel Configuration: The number and configuration of the solar panels, including the series and parallel connections.
- Charge Controller: The type and capacity of the charge controller, which will determine the maximum input voltage and current.
- Battery Bank: The size and configuration of the battery bank, including the number of batteries and their capacity.
- Inverter/Charger: The type and capacity of the inverter/charger, which will determine the maximum output power and charging current.

Using a wiring diagram software or a pencil and paper, create a diagram that shows the following components and connections:
- Solar Panels: Draw the solar panels, including the positive and negative terminals.
- Charge Controller: Draw the charge controller, including the input terminals (solar panels) and output terminals (battery bank).
- Battery Bank: Draw the battery bank, including the positive and negative terminals.
- Inverter/Charger: Draw the inverter/charger, including the input terminals (battery bank) and output terminals (AC appliances).
- Wiring and Connectors: Draw the wiring and connectors, including the gauge and type of wire, and the type of connectors used.

Wiring Requirements
When designing the wiring diagram, consider the following wiring requirements:
- Wire Gauge: Use a wire gauge that is sufficient to handle the maximum current flow through the system. A general rule of thumb is to use a wire gauge that is at least 2-3 sizes larger than the minimum required.
- Wire Type: Use a wire type that is resistant to heat, moisture, and UV radiation, such as THHN or THWN-2.
- Connector Type: Use connectors that are designed for the specific application, such as MC4 connectors for solar panels or ring terminals for battery connections.
- Circuit Protection: Include circuit protection devices, such as fuses or circuit breakers, to protect the system from overcurrent conditions.
Safety Considerations
When designing and installing a 12V RV solar wiring system, safety should always be the top priority. Consider the following safety considerations:
- Electrical Shock: Ensure that all connections are secure and protected from moisture and debris to prevent electrical shock.
- Fire Risk: Ensure that all components are installed and wired correctly to prevent overheating and fire risk.
- Overcharging: Ensure that the charge controller is properly configured to prevent overcharging of the battery bank.
- Short Circuits: Ensure that all connections are secure and protected from short circuits to prevent damage to the system.
Example 12V RV Solar Wiring Diagram
Here is an example of a 12V RV solar wiring diagram:
+---------------+ | Solar Panels | +---------------+ | | v +---------------+ | Charge Controller | +---------------+ | | v +---------------+ | Battery Bank | +---------------+ | | v +---------------+ | Inverter/Charger | +---------------+ | | v +---------------+ | AC Appliances | +---------------+In this example, the solar panels are connected in parallel to the charge controller, which is then connected to the battery bank. The battery bank is connected to the inverter/charger, which is then connected to the AC appliances.
Conclusion
Designing and installing a 12V RV solar wiring system requires careful planning and attention to detail. By following the guidelines outlined in this article, you can create a safe and efficient solar panel system that meets your energy needs and provides you with a reliable source of power on the go. Remember to always follow safety guidelines and consult with a professional if you are unsure about any aspect of the installation. With the right design and installation, a 12V RV solar wiring system can provide you with years of reliable service and save you money on energy costs.
Recommended Components
Here are some recommended components for a 12V RV solar wiring system:
- Solar Panels: Renogy 100W 12V Mono Solar Panel
- Charge Controller: Victron Energy SmartSolar MPPT 100/50
- Battery Bank: Lifeline GPL-2700T Deep Cycle Battery
- Inverter/Charger: Xantrex Prosine 2.0 Inverter/Charger
- Wiring and Connectors: THHN wire and MC4 connectors
Additional Resources
For more information on designing and installing a 12V RV solar wiring system, check out the following resources:
- National Electric Code (NEC): A comprehensive guide to electrical wiring and safety standards.
- RV Solar Power Guide: A guide to designing and installing solar panel systems for RVs.
- Solar Panel Installation Manual: A manual that provides detailed instructions for installing solar panels and wiring systems.
By following the guidelines and recommendations outlined in this article, you can create a safe and efficient 12V RV solar wiring system that meets your energy needs and provides you with a reliable source of power on the go.


